Recipe adapted from taste.com.au
Nanaimo bars recipe
servings
16
prep time
2h 30m

0 people saved this recipe.
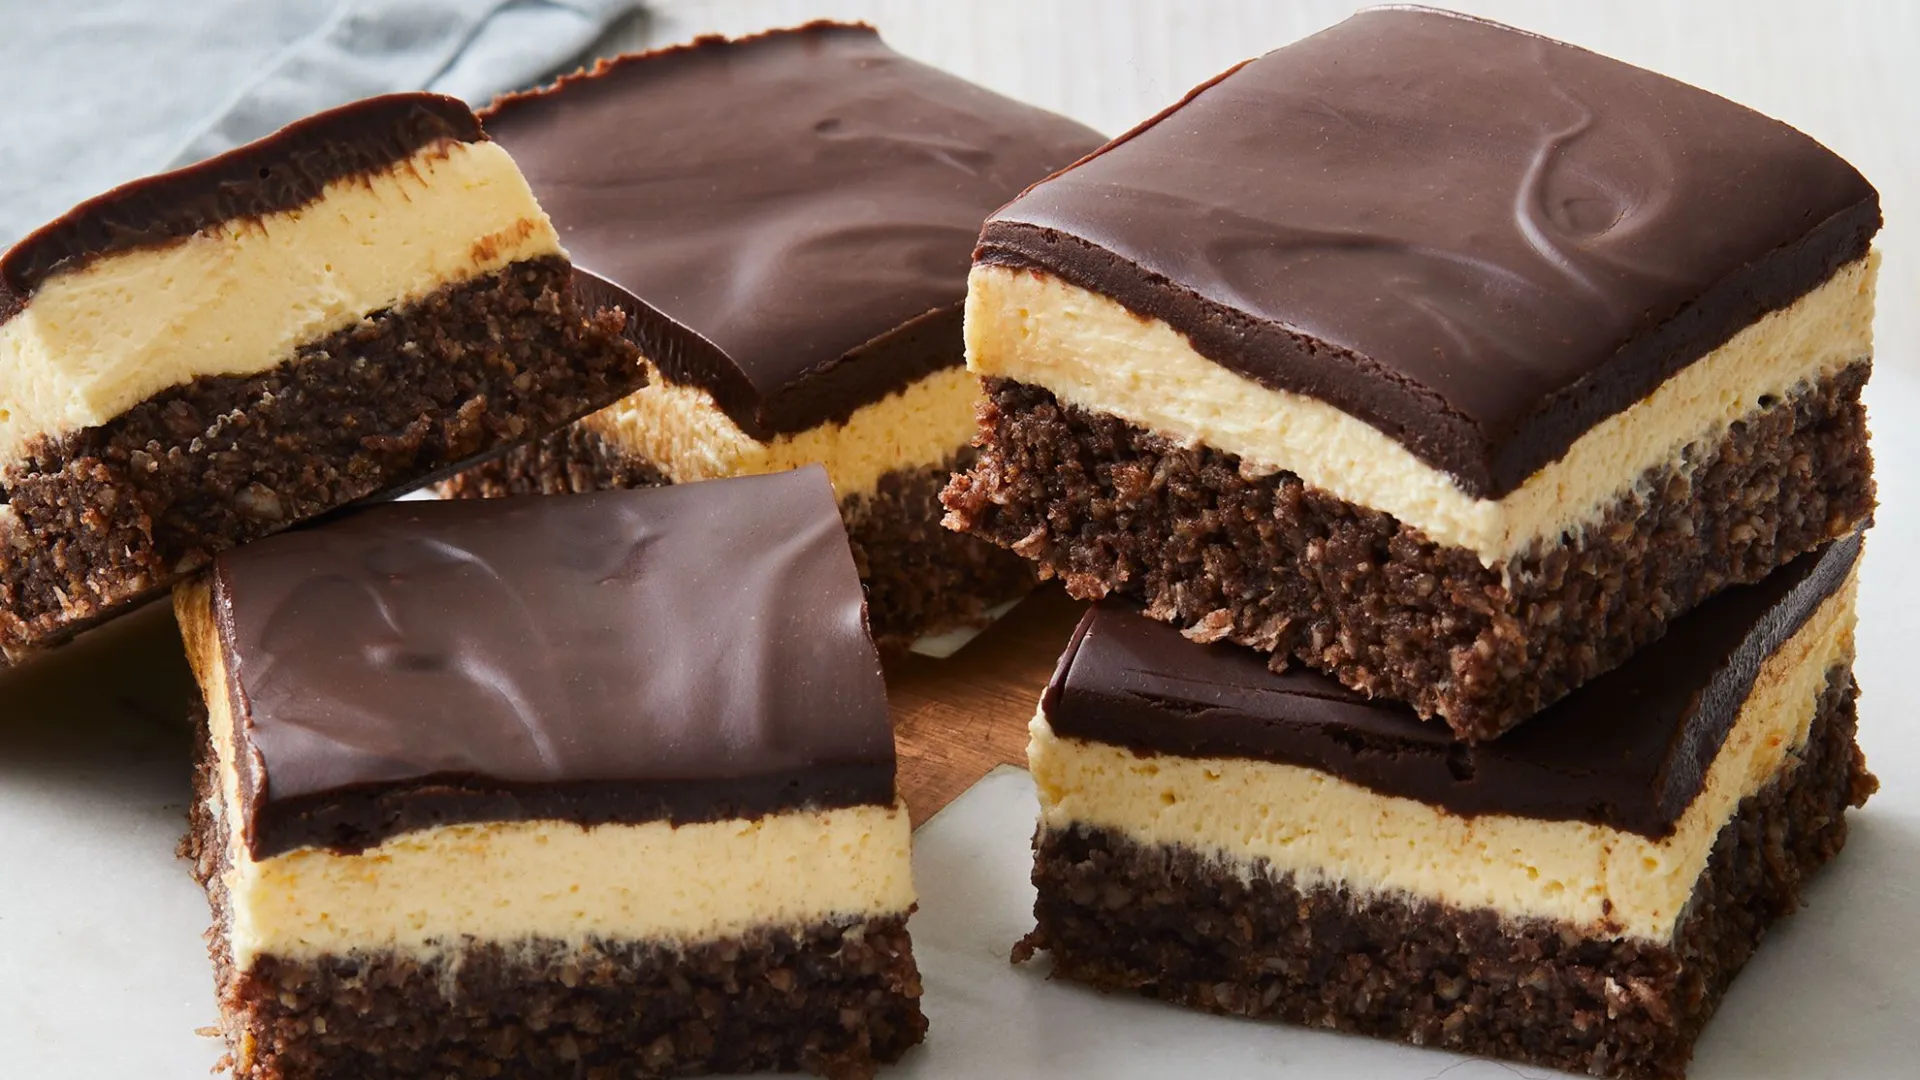
Layered with chocolate ganache, custard and a coconut crumb base, these Canadian bars (named after the British Columbia city, Nanaimo) combine all of our favourite sweet ingredients in one dessert.
11 Ingredients
5 Method Steps
Step 1
Lightly grease the base of a 20cm (base size) square cake pan (or glass or ceramic baking dish) and line with baking paper, allowing the paper to overhang 2cm above 2 sides. Place the biscuits in a food processor and process until finely crushed. Transfer to a large bowl. Place the almonds in the food processor and process until finely chopped. Transfer to the bowl. Add the coconut to the bowl and stir until combined. Make a well in the centre.
Step 2
Place butter, sugar and cocoa powder in a heatproof bowl over a saucepan of simmering water (make sure the bowl doesn’t touch the water) and whisk until well combined and heated through (it should be quite warm to touch). Add the egg in a very thin, steady stream, whisking constantly for 1 minute or until mixture becomes thick and glossy. Add to biscuit mixture and stir until combined. Spread and press firmly over base of pan. Place in the fridge for 30 minutes or until chilled.
Step 3
To make the filling, use electric beaters to beat the butter in a bowl until pale and creamy. Beat in the cream and custard powder until combined. Add the icing sugar, a large spoonful at a time, beating well after each addition until well combined. Spoon over base. Smooth the surface. Place in the fridge for 1 hour or until firm.
Step 4
To make the topping, place the chocolate and cream in a large heatproof bowl over a saucepan of simmering water (make sure the bowl doesn’t touch the water) and stir with a metal spoon until the mixture is melted and smooth. Pour over the filling. Smooth the surface. Place in the fridge for 30 minutes or until set.
Step 5
To serve, run a knife along edges without paper to loosen, then transfer to a serving board. Cut into squares.
Reviews (0)
Please read our Community Guidelines before publishing a review!
Copyright © 2025 Cactive Pty Ltd. All Rights Reserved.
